Most getting-started guides show you the happy path.
Install the tools. Build the application. Deploy it. Open the URL.
My first end-to-end container deployment was more useful precisely because it did not follow that path.
The application itself could hardly have been simpler. It was a tiny Node.js HTTP service designed to prove that I could build a container, test it locally, publish it to a registry, deploy it onto a managed platform and eventually automate the same process through GitLab CI/CD.
The JavaScript was the easy part.
The interesting lessons came from everything around it.
Start with the smallest application possible
When learning a deployment platform, application complexity is mostly noise.
I deliberately wanted something that did almost nothing:
const http = require('http');

http.createServer((req, res) => {
  res.writeHead(200, {
    'content-type': 'text/plain'
  });

  res.end(
    req.url === '/health-check'
      ? 'OK\n'
      : 'Hello world\n'
  );
}).listen(8080, '0.0.0.0');
There is no framework, database, authentication or configuration layer.
It has two useful behaviours:
GET /health-check
→ OK

GET /
→ Hello world
That simplicity mattered.
If the deployment failed, I knew I was investigating the deployment environment rather than Express, dependencies, application configuration or some unrelated piece of code.
Platform requirements belong in the application design
The target platform imposed several requirements on custom containers.
The service needed to:
- listen on
0.0.0.0 - use the expected application port
- expose a health-check endpoint
- return a successful HTTP status from that endpoint
- run as a non-privileged user
That resulted in an equally small Dockerfile:
FROM node:22-alpine

WORKDIR /app

COPY server.js .

EXPOSE 8080

USER nobody

CMD ["node", "server.js"]
This reinforced an important distinction.
A container that works on my laptop is not automatically a container that satisfies the contract of the platform that will run it.
The platform contract needs to be understood before deployment.
Test the contract locally
Before publishing the image, I ran exactly the behaviour the deployment platform would depend upon.
docker build -t hello-container:1.0.0 .
docker run --rm --user nobody -p 8080:8080 hello-container:1.0.0
Then from another terminal:
curl localhost:8080/health-check
curl localhost:8080/
The responses were:
OK
Hello world
This is a small step, but an important one.
By the time the image reached the deployment platform, I already knew:
Application starts
      ↓
Container starts
      ↓
Port 8080 listens
      ↓
Health check returns 200
      ↓
Application responds
If deployment subsequently failed, several possible causes had already been eliminated.
Windows and Linux are separate environments
My Windows workstation already had some of the credentials and tooling I needed.
The container workflow ran inside WSL2.
That exposed an easy assumption to make:
If I configured something on Windows, WSL will probably see it.
Often it will not.
WSL is a Linux environment with its own home directory, configuration files and toolchain.
That matters for things such as:
- package-manager credentials
- Docker configuration
- CLI authentication
- certificates
- SSH configuration
- environment variables
The lesson was not specific to one credential system.
It was that Windows and WSL should be treated as separate execution environments unless you have deliberately made configuration available to both.
I captured that separately in Windows and WSL Don’t Automatically Share CLI Credentials.
Docker Engine in WSL2 worked well
Once WSL2 was configured, Docker Engine provided a straightforward Linux-native container environment.
The basic validation was deliberately simple:
docker run --rm hello-worldThen:
docker build -t hello-container:1.0.0 .For command-line development this also makes the architecture quite easy to understand:
Windows
   │
   ▼
WSL2
   │
   ▼
Linux
   │
   ▼
Docker Engine
   │
   ▼
Container
There is value in being able to see each layer rather than treating containers as something hidden behind a desktop application.
A successful deployment does not prove the client path works
One of the more interesting problems appeared after the service had deployed successfully.
The deployment system had:
- accepted the image
- created the infrastructure
- started the service
- passed its health check
- configured DNS
Yet the application hostname returned:
ERR_NAME_NOT_RESOLVEDAt first glance that looks like a failed deployment.
It was not.
Querying different DNS resolvers showed that the authoritative/internal path knew about the record while the resolver being used by the workstation still returned:
NXDOMAINThat distinction was the breakthrough.
The service existed.
The DNS record existed.
The client was seeing stale negative DNS information.
Negative DNS caching is worth remembering
DNS caching is usually associated with successful lookups:
hostname → IP addressFailures can be cached too.
If a resolver asks for a hostname while the record does not exist, it can retain the negative result:
hostname → NXDOMAINIf the record is created shortly afterwards, the resolver may continue reporting that the hostname does not exist until the negative cache expires or is cleared.
This was particularly confusing because clearing the operating system’s DNS cache did not clear the cache in another resolver layer.
The general troubleshooting lesson is:
Identify which resolver is returning the answer before deciding which DNS cache needs clearing.
I’ve captured the technique separately in NXDOMAIN Can Be Cached Outside the Windows DNS Cache.
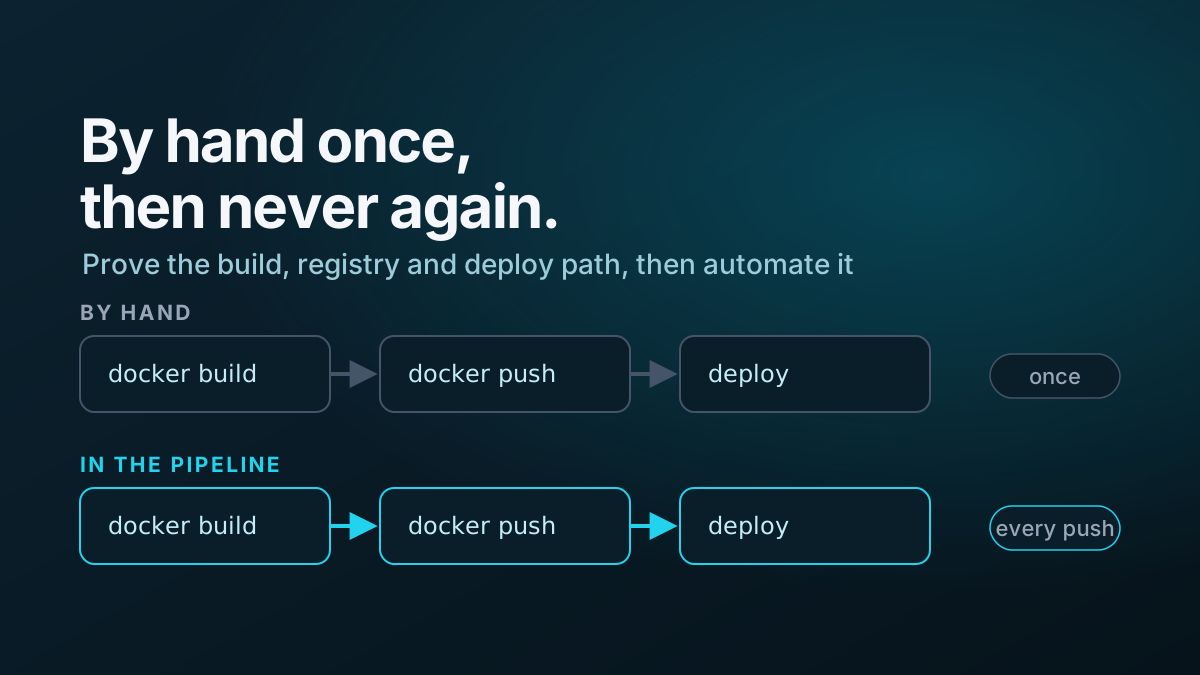
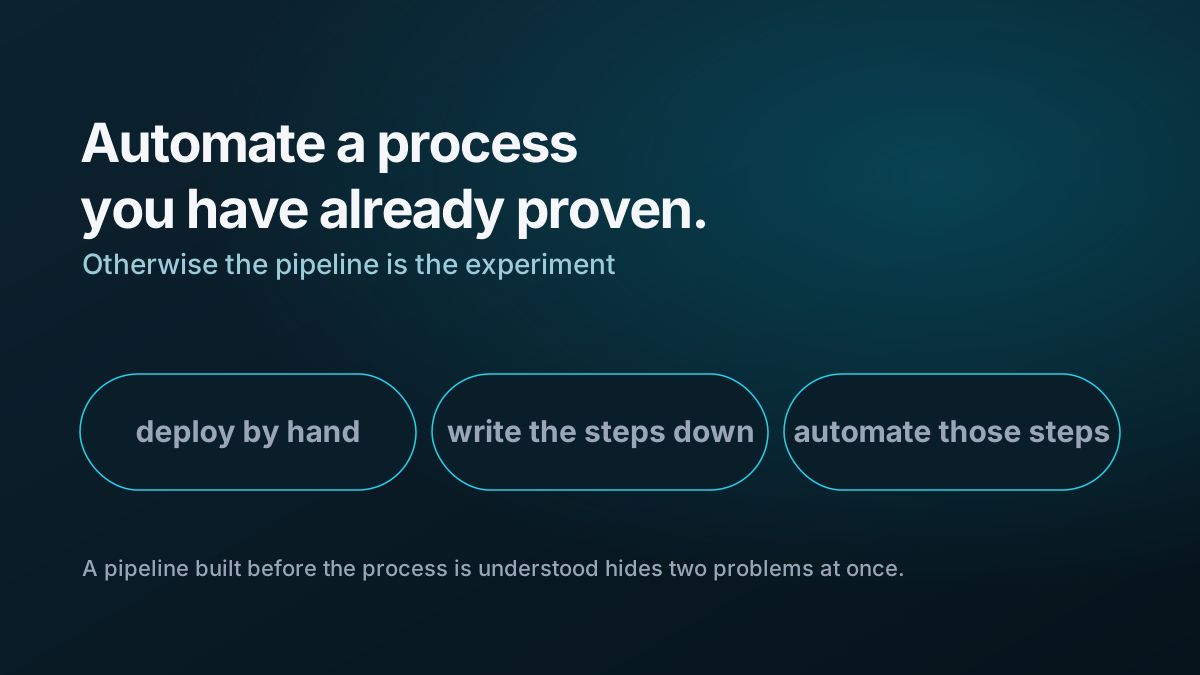
Deploy manually before automating
The biggest lesson came at the end.
I could have started by building the GitLab pipeline.
I’m glad I didn’t.
Before writing any CI/CD configuration I had manually performed the complete process:
Write application
      ↓
Build container
      ↓
Run locally
      ↓
Test health check
      ↓
Tag image
      ↓
Push image
      ↓
Create deployment context
      ↓
Deploy service
      ↓
Verify application
Every stage was understood independently.
Only then did I automate it.
The resulting pipeline was no longer mysterious.
It was simply an executable description of a process I already knew worked.
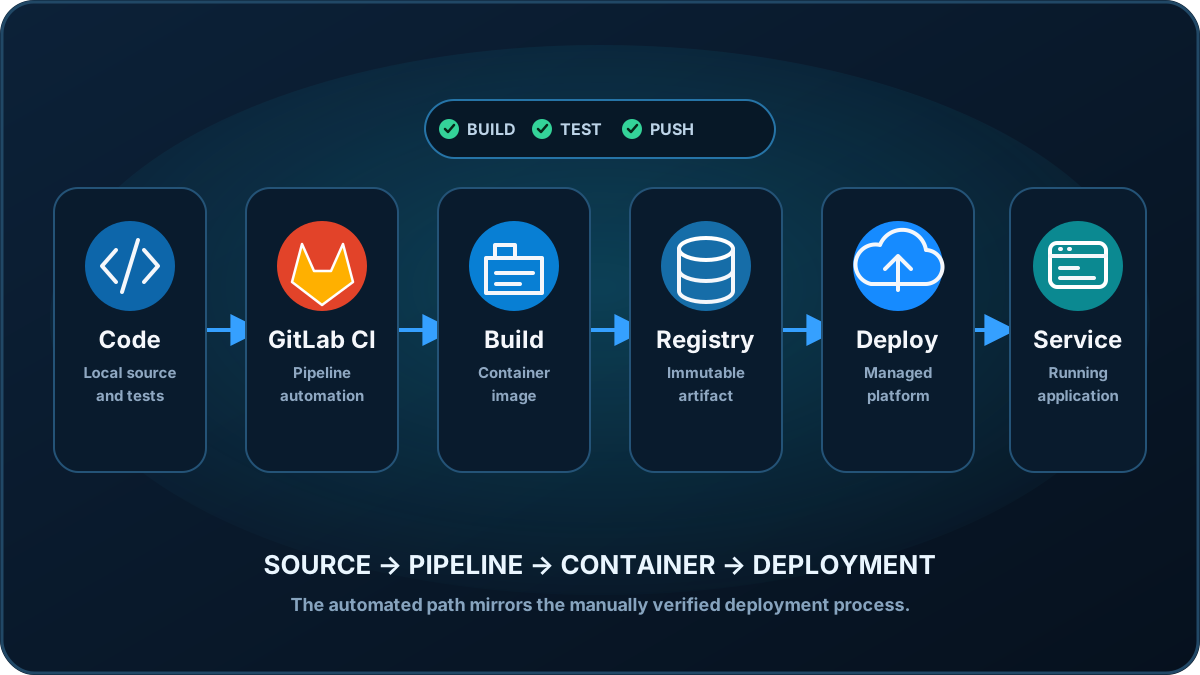
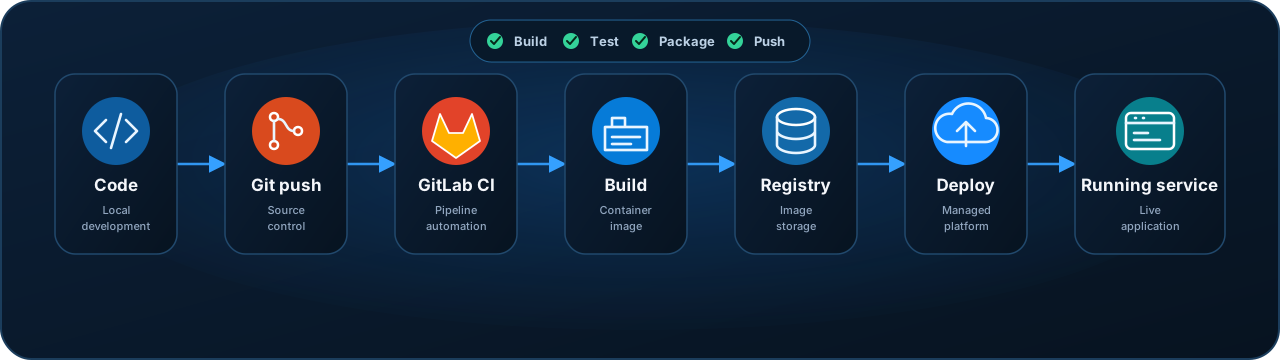
The pipeline should mirror the manual process
The final workflow became:
git push
   │
   ▼
GitLab
   │
   ├── Build image
   │
   ├── Tag image
   │
   ├── Push image
   │
   ▼
Manual deployment approval
   │
   ▼
Deployment CLI
   │
   ▼
Managed container platform
   │
   ▼
Running service
That mental model makes troubleshooting considerably easier.
If the build job fails, I understand the corresponding local build command.
If publishing fails, I understand the registry operation.
If deployment fails, I have already run the deployment command manually.
CI/CD has removed repetition without hiding the underlying process.
For more on that transition, see From Manual Container Deployment to GitLab CI/CD.
Use immutable image identifiers
The manual test used a human-readable version:
hello-container:1.0.0For CI/CD I switched to an image tag derived from the Git commit:
hello-container:<commit-sha>That creates a much stronger relationship between source and deployment:
Git commit
    │
    ├── source
    ├── pipeline
    └── container image
If a particular image is running, I can identify the source revision that produced it.
I explore this further in Why I Tag Container Images With the Git Commit SHA.
What I would do the same next time
The experience changed how I would approach an unfamiliar deployment platform.
I would:
- use the smallest possible application
- understand the runtime contract first
- validate that contract locally
- deploy manually
- verify each infrastructure layer independently
- automate only after the manual path works
- use immutable identifiers for CI/CD artifacts
Most importantly, I would resist the temptation to solve several unknowns simultaneously.
There is a huge difference between debugging:
Why doesn't my pipeline deploy my application?and debugging:
Why did this one command behave differently in GitLab?The second question is much easier to answer when you’ve already proved the entire path manually.
Sometimes the most useful part of a first deployment isn’t getting the application running.
It’s understanding all the things that had to work for that simple Hello world to appear.